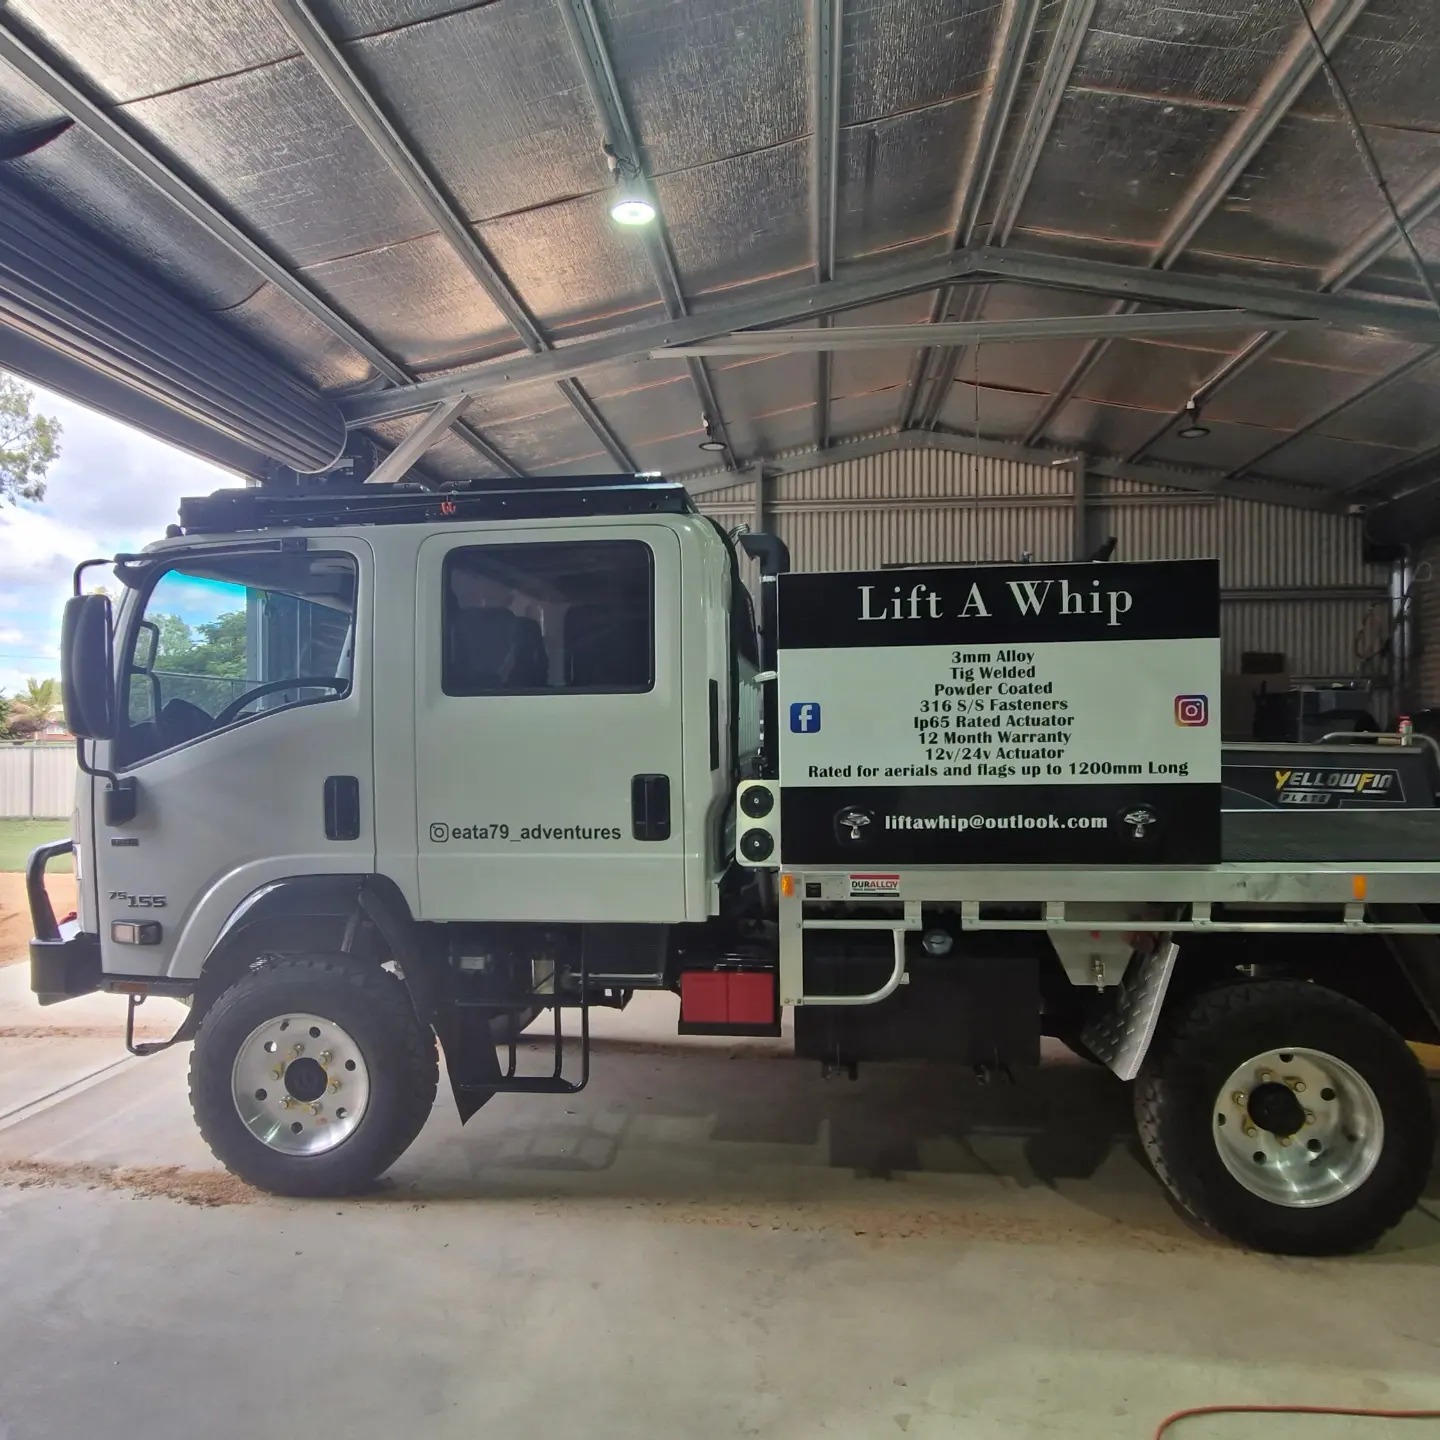
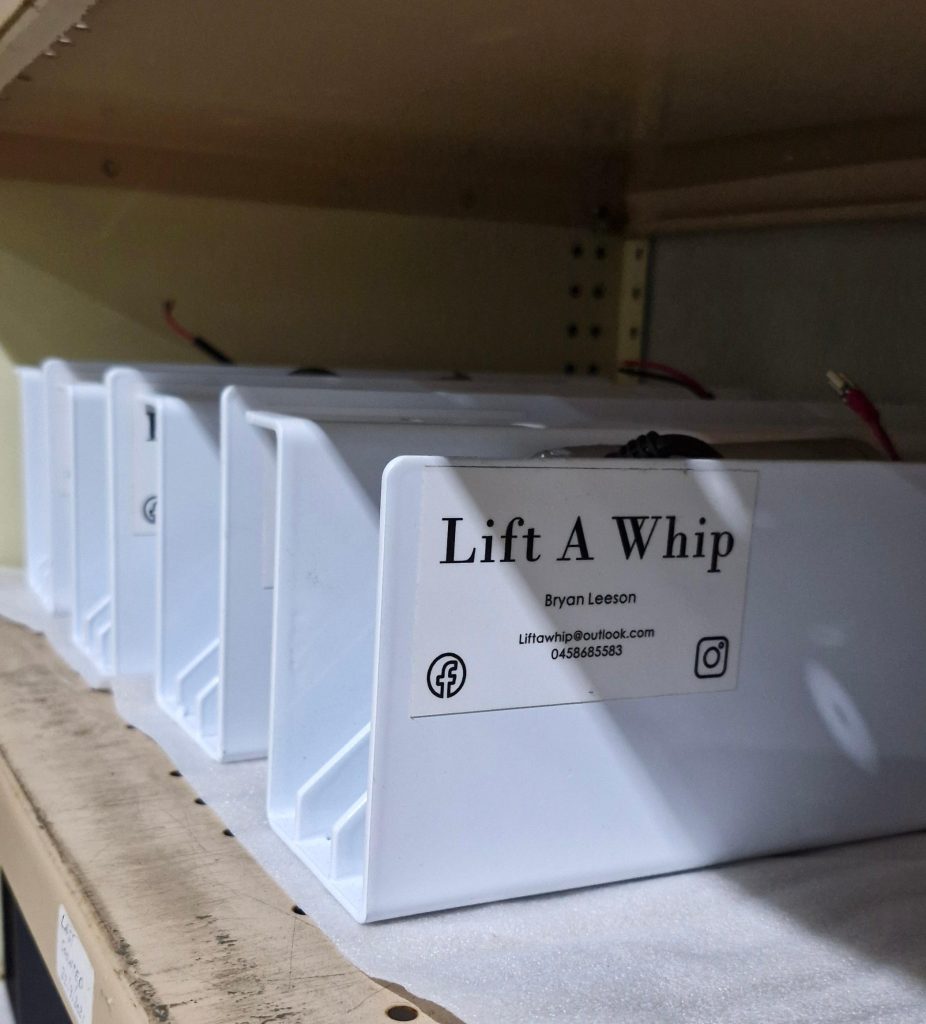
Lift A Whip was created by me (Bryan Leeson) after enduring difficulties with having a very tall offroad truck. I wanted to mount an aerial on the roof rack for maximum range but did not want to have to climb over 2.5 mts into the air to raise or lower the RFI Aerial when parking my vehicle in my shed or when driving under trees etc. Whilst in the bush.
Now I just push the button on the dash for up or down with no risk of falling or injury.
Suitable for flags and aerials up to 1200mm in length.
Actuator is IP 65 rated against dirt, dust and water.
Units have been tested in multiple environments and circumstances, current testing from – 6 degrees up to 47degrees in countless different terrains including mine sites across QLD, NSW and WA.
Please note our actuators are 12v or 24v specific, all Lift A Whips have been tested for aerials or flags up to 1.2 meters in length and any use contrary to these recommendations may void warranty. We offer a 12-month warranty from date of invoice for the unit for personal use, and 6 months on any vehicle attending mine sites due to the extreme conditions of these locations.
All claims must be sent back to us/retailer at the customer’s expense. If a warranty claim is approved the return postage will be refunded along with a repaired or replaced unit at our discretion.
How to install
Lift A Whip recommends using a qualified auto electrician to instal this unit.
Lift A Whip and staff will not be held responsible for any failures caused by an incorrect instalation.
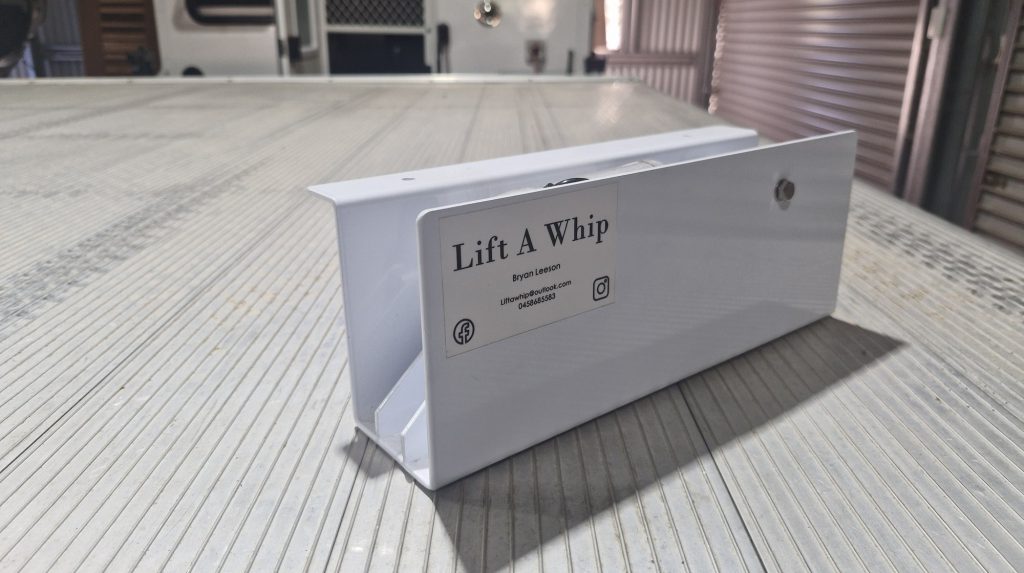
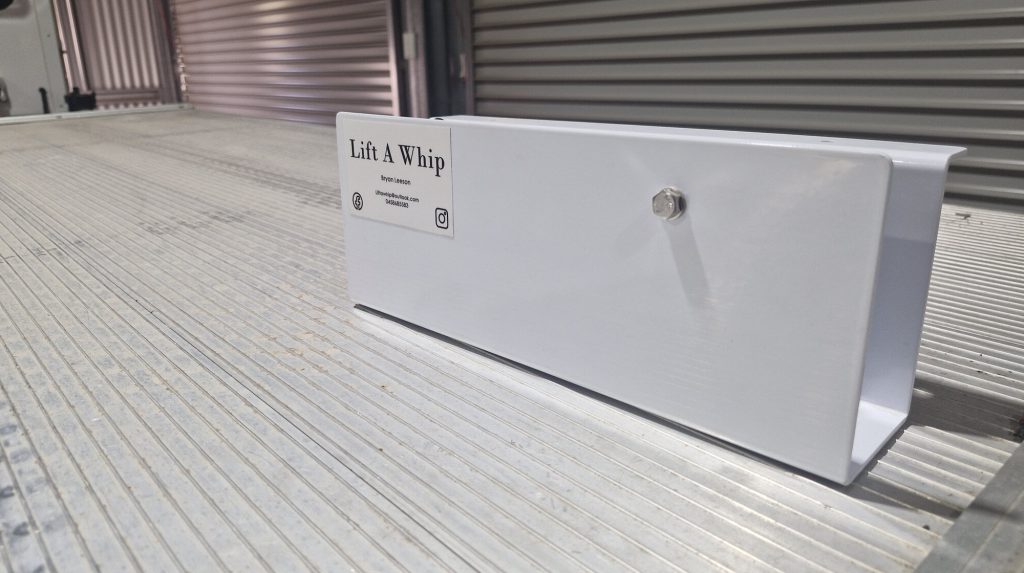
Choose the desired mounting location of the unit and secure the Lift A Whip to vehicle with supplied bolts, choose suitable mounting location for switch.
Electrical
Step 1
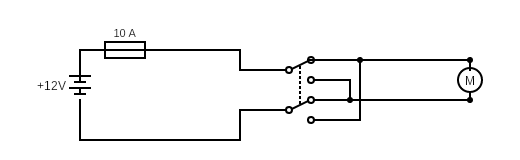
Use a double pole double throw (DPDT) switch for this installation, the centre 2 pins are for your 12v or 24v feed, please make sure there is a 10-amp fuse inline from the power source to the switch then connect as shown in photo.
Step 2
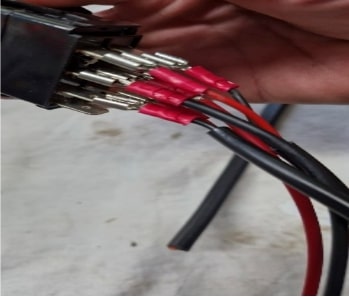
Connect the wiring to the Lift a Whip to the 4 remaining pins connecting the diagonally opposite pins together to allow for the polarity to reverse when switched. As shown in the picture.
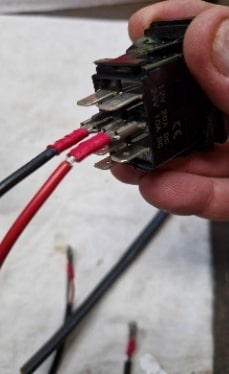
Step 3
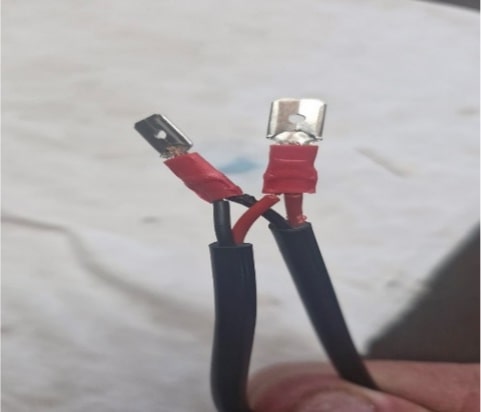
Join the 2 positive wires together and the 2 negative wires together from the top and bottom wires on the switch with crimp terminals, as shown in photo.
Step 4
Join the wires from the switch to the 2 wires on the actuator pos to pos neg to neg . I suggest crimp terminals, solder and heat shrink all joins/terminals. The actuator has its own built in limit switch and will cut out at full range of motion up or down.
Step 5
Test your unit, and please send us pics and videos too share on our social media and follow us on Instagram, Facebook. Thank you for supporting our small family business, our while family very much appreciate your support.